October 30th, 2018 update release includes the following features/updates:
Feedback from Pope Tech’s Community implemented:
- Dismiss Results
- Scan Mobile Devices
- Delay Evaluation Time on Scans
- Link to WAVE and page URL on page detail
Other updates, flow fixes or bug fixes:
- Crawler speed settings
- Line of Code formatting update
Dismiss Results
This update allows you to dismiss results that have been determined to not be accessibility issues. Errors, Alerts or Contrast Errors can be dismissed. The ability to dismiss an item is permission-based and requires a note to be made on the dismissal. By default, this permission is only turned on for owners of the account. The permission can be assigned to any role.
Dismissing a result removes it from the latest scan and all future scans until the HTML is changed. Once the HTML is changed of that specific node the result will return.
The ability to dismiss a result is available both from drilling down from the dashboard to the Result Details or from a specific Scan details page.
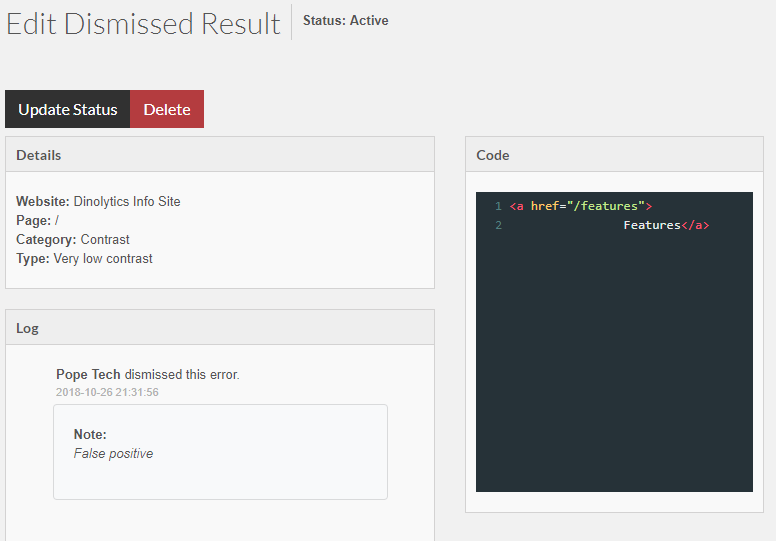
Use Result Details View to Dismiss Results
In the dashboard, drill down from either the Result Types or the Most Common Issues into the Result Details. From there, you can drill down into a specific Error, Alert, or Contrast Error and then select the website you want to look at.
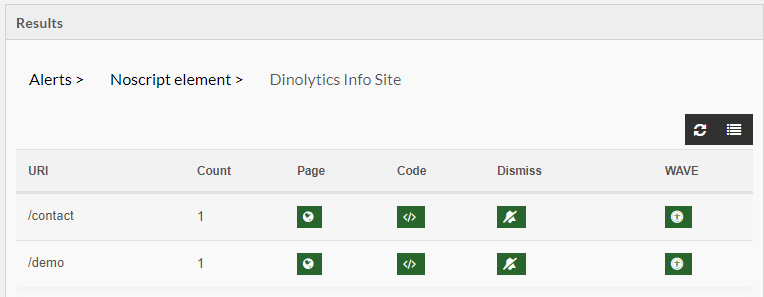
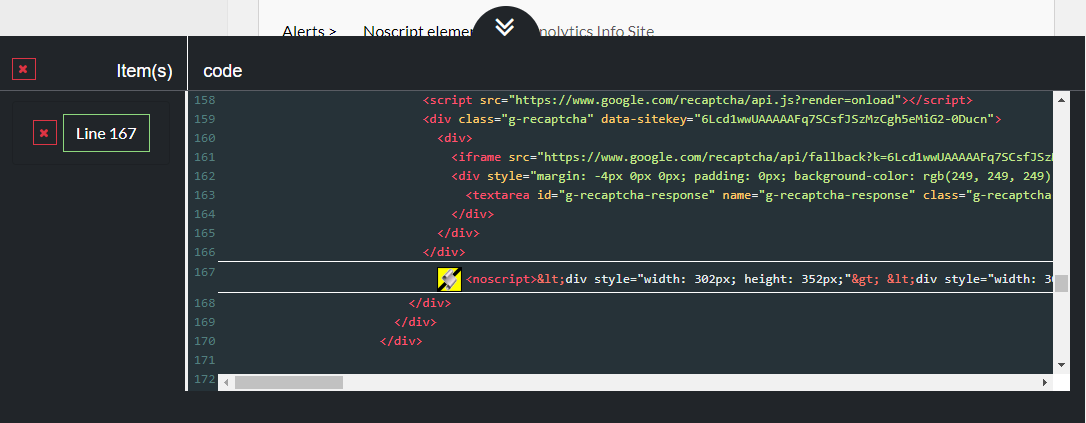
There is now a new column next to Code called Dismiss. This action allows you to view the code of the issue(s) for each page and either dismiss one by one or dismiss all of them.
You will be required to leave a comment for the reason for dismissing the issue.

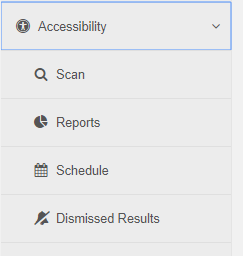
These comments are tracked and can be view in the Dismissed Results view. This view is accessed from the main navigation under the Accessibility section.
On the Dismissed Results view, you can filter to a specific Category, Type, Website and/or User.
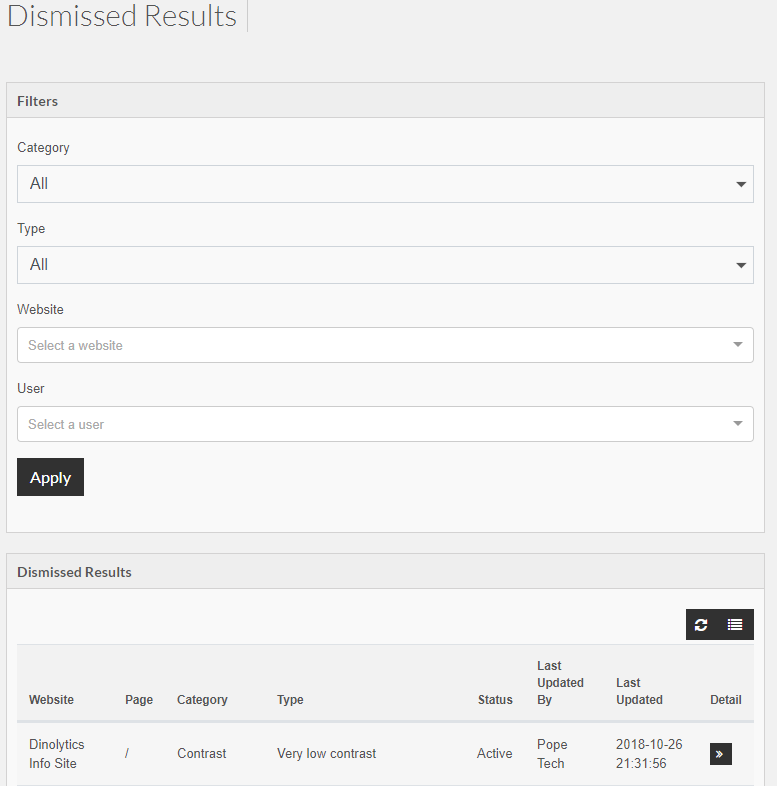
By navigating to a specific dismissed result action, you view a log of when and who dismissed the result along with the reason why it was dismissed. From this view, you can also update the status to active and add the result back into reports.
Scan Mobile Devices
On the website view, there is a new section called Scanner Options. From this, you can set the Viewport Width in pixels or Evaluation Delay in Milliseconds. The default viewport width is 1200px, but can be changed to any size.
Typically this is used to change to something like 320px for phones or 720px for tablets.
This is a website setting, which allows you to potentially test samples of your site on different viewport widths. For example, you could scan your entire site on the default viewport, and a sample of common page types on phones and tablets. This would be 3 distinct websites in Pope Tech with different viewport settings. These separate sites and pages do count against your page limit.
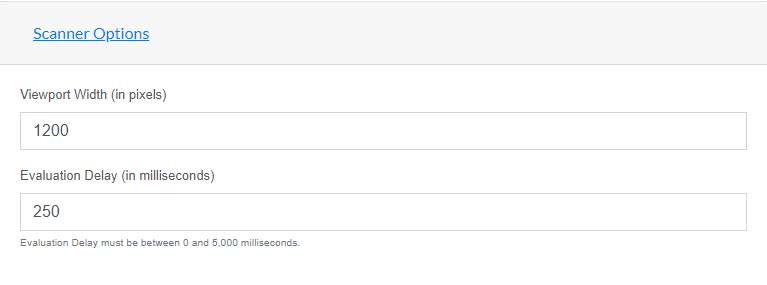
Scan Evaluation Delay
This is the number of milliseconds to wait after the last page request before evaluating the page. This can be better ensure that pages that are heavily manipulated via scripting area fully formed before being evaluated. This can be set to 0 for static pages or increased for very dynamic pages or pages loading from slow sources.
For example, we have found some sites that use Facebook Pixel inject forms without labels that are removed later. By bumping up the Evaluation Time slightly to 450 milliseconds the inputs are removed and aren’t reported anymore.
Generally, you want this as low as makes sense for your site as it will add time for every single page that scans.