Pope Tech PDF Scanning in Canvas LMS is powered by GrackleDocs PDF Testing engine, which uses the PDF/UA standard for its tests.
In this article, we’ll cover what you need to know to start using PDF scanning results, including:
- PDF-related Pope Tech results
- Options for remediating PDFs
- How to review your PDF scan detail report
Before you get started
- PDF Scanning is an add-on that can be purchased for your account. For more information, contact your account representative or support.
- After purchasing PDF Scanning, rescan websites to see the new results.
Pope Tech Results
With PDF scanning, the generic Link to PDF document result is converted to one of these 5 PDF Results:
- Link to untagged PDF (Error): It has no semantic structure, which would provide meaning to content for screen readers. This is often the highest priority of PDF result to fix.
- Link to PDF with errors (Error): It has at least 1 PDF/UA error.
- Link to PDF with alerts (Alert): It has no errors but at least 1 Alert.
- Link to unscanned PDF (Alert): Pope Tech is unable to scan the PDF. This could be because the PDF doesn’t exist at the URL, Pope Tech was blocked from accessing the PDF, the file was too large, or another reason.
- Link to PDF with no detectable issues (Feature): No detectable issues are present.
How to fix a PDF for Accessibility
PDF Accessibility can be challenging. There are multiple ways to fix a PDF depending on your situation. Below are possibilities in order from easiest to hardest.
- Remove the PDF or convert to a Canvas Page (When to use HTML webpages instead of PDFs).
- Fix issues in the source file or create a new accessible document with Word Doc or Google Docs.
- Remediate the PDF with Adobe Acrobat Pro or another PDF tool.
PDF Scan Detail Report
Access PDF Scan Details
You’ll access the PDF Scan Details report for any scanned PDF from the Documents Dashboard.
To get to your Documents Dashboard from your Course or My Dashboard:
- From your Course Dashboard, select Documents & Videos from your Accessibility Scorecard. From your My Dashboard, select View all from your Documents and Videos widget.
- Select the Documents tab.

- Scroll down to the list of your scanned PDFs and select Details.

You’re now on the PDF Scan Details report for that scanned PDF.
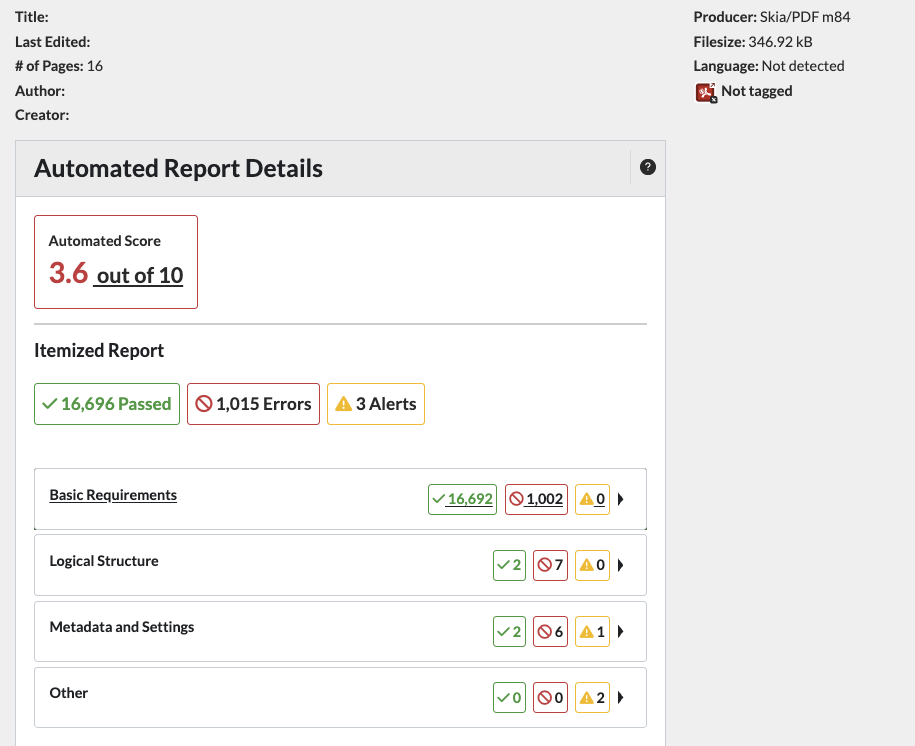
Top of report
At the top of the PDF Scan Detail is metadata, or information, such as the PDF title, file size, document language, how many pages are in the PDF, when it was last edited, the author, and what program created it.
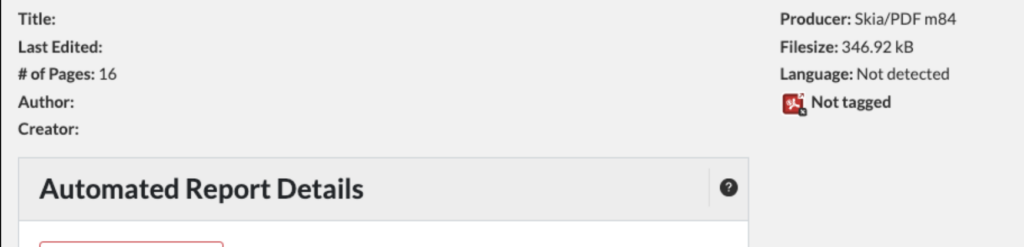
Not all of this information is saved on every PDF, but it can be useful for prioritization.
For example, if a PDF hasn’t been edited for 12 years, it might be an opportunity to remove the PDF or convert it to a Canvas page.
Automated Report Details
The automated Report Details is an Automated Score out of 10, and the Itemized Report.
Automated Score
The Automated Score is a weighted score based on the number of issues and issue severity. A score of 10 would mean there are no detectable issues. A score above 9 means there are very few detectable issues in relation to the complexity of the PDF.
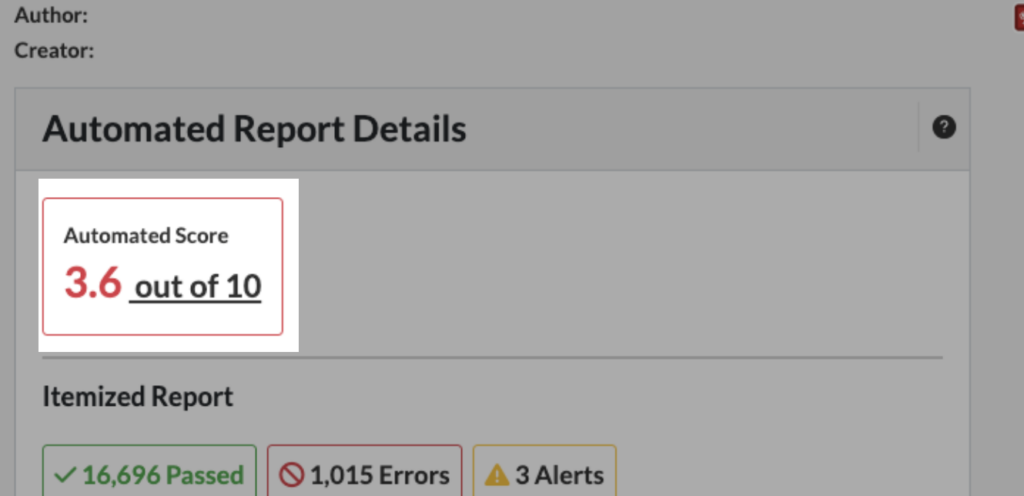
It is important to understand that automated and manual testing work best together. Automated testing alone can’t determine that a PDF is accessible. Manual review or remediation is required to ensure optimal accessibility and usability.
For many use cases, you can use the PDF result type, PDF metadata, and the Automated Score to decide how to fix the PDF (remove, convert, or remediate), and how to prioritize it.
If you want the specific details, the Itemized Report can be helpful.
Itemized Report
To understand the Itemized Report, it helps to have some familiarity with the PDF/UA Standard.
PDF/UA Standard
PDF/UA stands for “PDF Universal Accessibility.” It is an international accessibility standard published as ISO 14289 that defines how to build PDF documents so people with disabilities can use them effectively.
WCAG defines accessibility requirements. PDF/UA defines how to technically build a PDF so those requirements can actually be met.
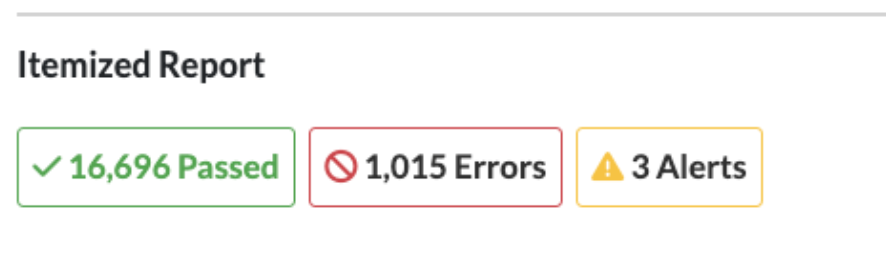
Checkpoint Summary and Icons
The PDF report uses three icons:
- A green checkmark to indicate Passed status.
- A red circle with a line through it indicates an Error.
- An orange triangle indicating an Alert.
The top of the Itemized Report has a summary of all checkpoints and how many have errors/alerts or passed.
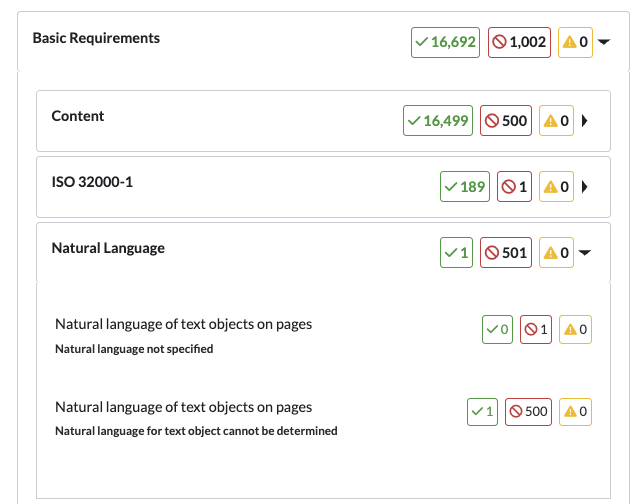
The Itemized Report also has nested categories with specific checkpoints checked as part of the scan.
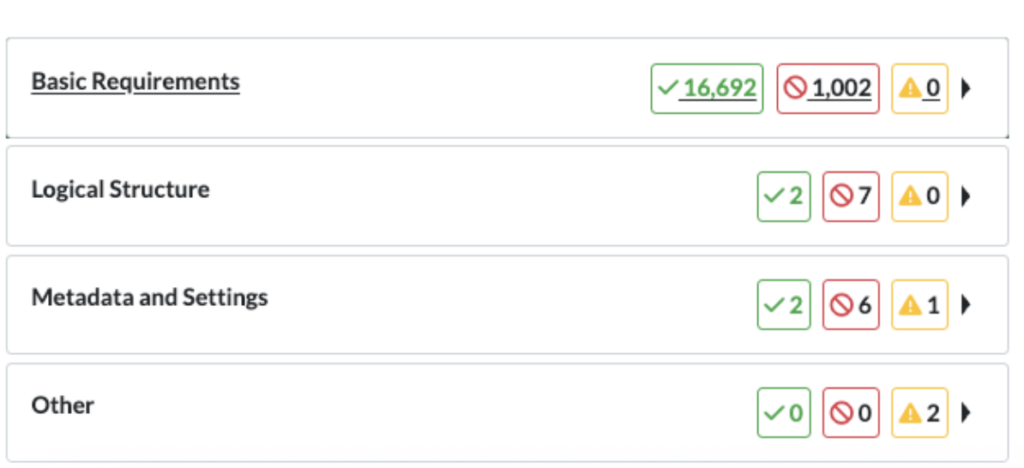
Itemized Report Categories
The report has three main categories:
- Basic Requirements
- Logical Structure
- Metadata and Settings
These categories have sub-categories:
Basic Requirements
- Content
- Embedded Files
- Fonts
- ISO 32000-1
- Natural Language
Logical Structure
- Alternative Description
- Role Mapping
- Structure Elements
- Structure Tree
Metadata and Settings
- Document Settings
- Metadata
Each of these sub-categories have specific Result Checkpoints and Result Descriptions.
Example Result Checkpoint
- Category: Basic Requirements
- Sub Category: Natural Language
- Checkpoint: Natural language of text objects on pages
- Result Description: Natural language not specified
- Sub Category: Natural Language
Natural language not specified means the document does not declare the language. Assistive technology relies on that metadata to interpret text correctly.
Every PDF should identify the language used for its text. Usually this is something like en, es, fr, or de. Screen readers use it to pick the correct pronunciation rules, voice, and reading behavior. This can be set in Microsoft Word before exporting as a PDF or in Adobe Acrobat Pro .
Without a defined language, a screen reader may mispronounce words, read numbers incorrectly, or fail to switch voices for multilingual content.
Typical causes
- Exported from Word, InDesign, or another authoring tool without language configured
- Language set visually in the source file, but not mapped into the PDF tag structure
- Tagged PDF created, but metadata step skipped